Installation of the flush mount floor vent from Ventiques.
Installing the flush to floor vents is easy to do for tile, hardwood, or laminate flooring. Take a momement to watch our step-by-step video.
VENTIQUE EASY INSTALLATION
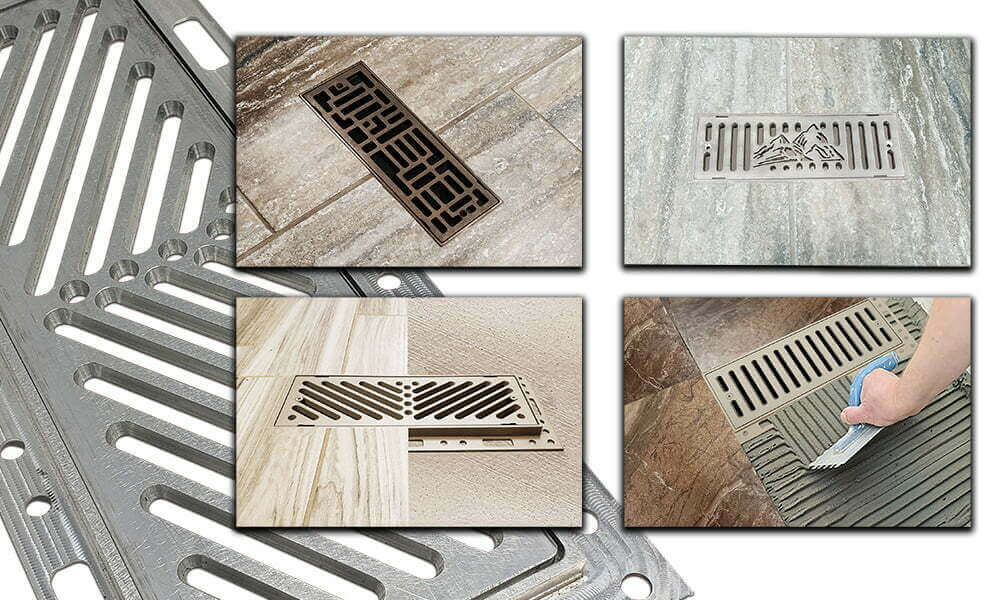
Ventique Vents can be used with nearly any type of flooring material. Including Ceramic Tile, Stone, Laminate, Wood, LVP, and Carpet. With our unique flush mount frame design and grill insert, you get the perfect smooth transition finish every time.
Ventique metal vents are manufactured with high strength aluminum, providing outstanding toughness and strength for not only residential jobs but also conform to most commercial specs as well.
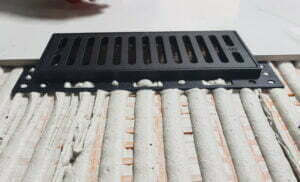
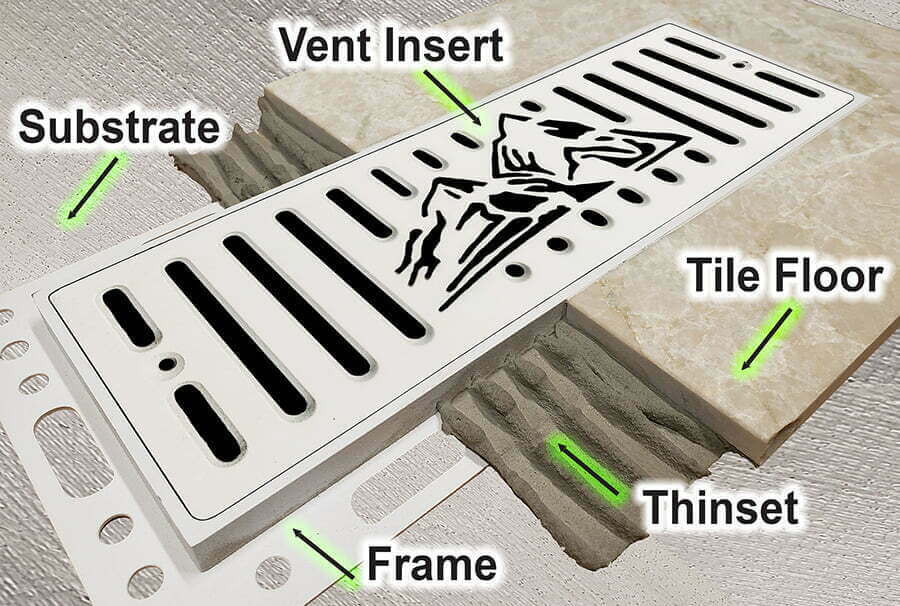
Ventiques are constructed out of two components, the outside flush mount frame, and the grill insert. The grill insert of the registers can easily be removed for cleaning of the duct area and are completely interchangeable for different looks.
Our Metal Frames are 1/2″ thick allowing most tile flooring to be installed with a perfect flush mount finish. Easy installation makes this the perfect product for DIY homeowners or skilled craftsman.
STEP 1:
To begin installation make sure you have the correct size vent you need for your duct opening. To find out what size you will need, all you need to do is measure the duct openings length and width.
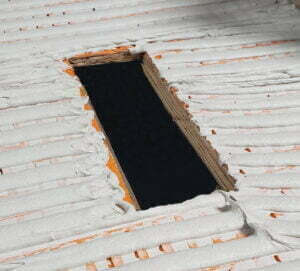
STEP 2:
So now that you have the right size vent, our next step is to have a clean substrate or (subfloor). Make sure the area is clean of any debris or obstructions.
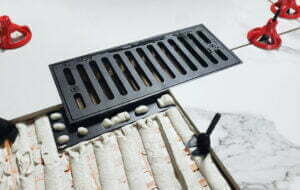
STEP 3:
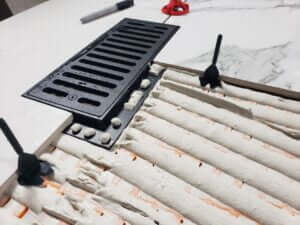
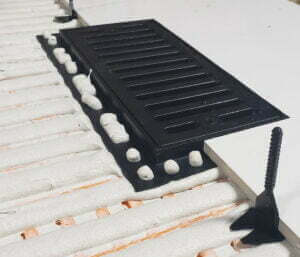
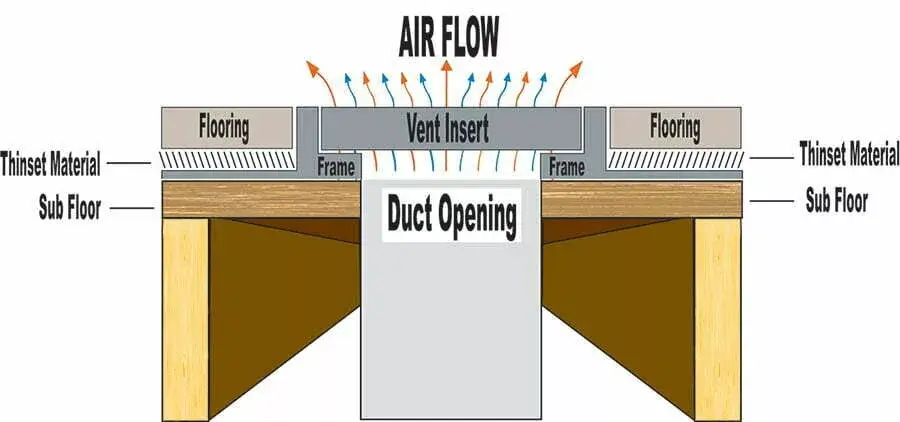
Once you have your substrate cleaned and prepped, you are now ready for the outer frame. Simply apply your thinset to the sub floor area and place your flush mount frame over the duct opening and center as needed. Make sure to gently press down on the frame to allow it to embed into the setting material.
STEP 4:
Next all you need to do is trowel your setting material over the outer frame area and you are ready for tile.
STEP 5:
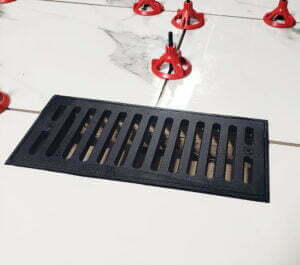
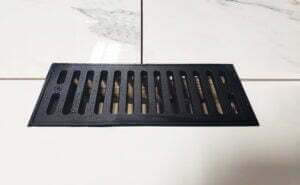
Make your tile cuts as needed, then simply set your tile around the flush mount frame. Lastly add the grill insert and you are done. The result: a seamless flush mount finish that looks amazing.
STEP 6:
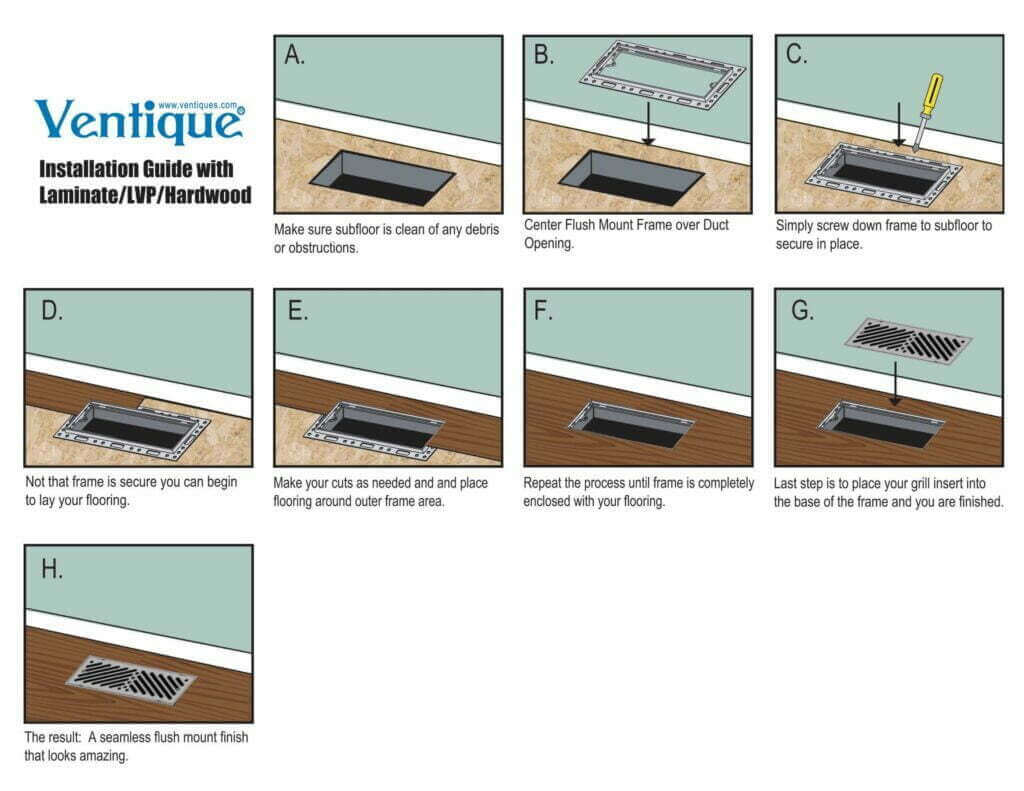
If your installing any other hard surface materials other than tile or stone, like Laminate, LVP, Hardwood, or Carpet, simply follow steps 1&2. When it comes to installing your frame to the subfloor all you need to do is center over the duct opening and simply use a couple screws to secure in place. Make your cuts to your flooring material, add around the frame, and drop in the grill insert and we are finished.