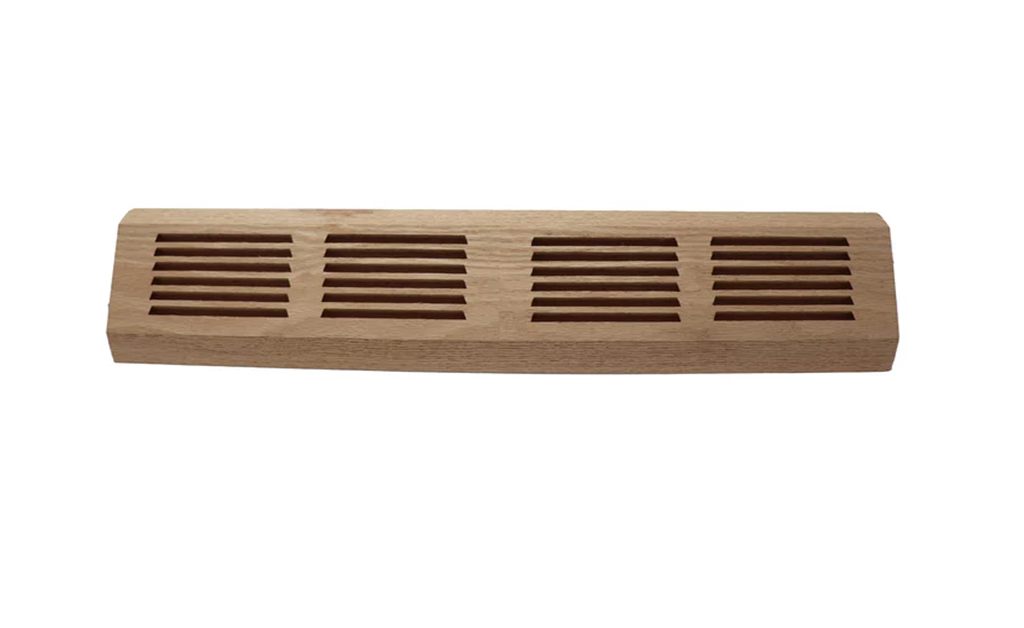
How to Remove a Baseboard Diffuser and Reinstall It Correctly
Share
Baseboard diffusers are part of your living area's heating as well as air conditioning unit, delivering air to keep your rooms comfortable. If you want optimal indoor air quality, it’s essential to buy quality baseboard vents from Ventiques that will stand the test of time. They last long, but they sometimes need to be removed so that they may be cleaned, painted, or even replaced.
This is a very easy task, but it must be done carefully so that the baseboard diffuser and the wall is not damaged. Use this guide so you can perform the careful removal, cleaning, and reinstalling of your diffuser on a baseboard, so that it continues to operate the best it can.
Tools and Materials You'll Need
Prior to getting started, be sure to round up the appropriate tools to allow the job to be fast and simple. You will be needing a flathead screwdriver or a putty knife to carefully lift the diffuser off the wall. Use a utility knife to scrape off any paint or caulk that has glued the baseboard diffuser register to the baseboard.
To clean, be prepared with a vacuum outfitted with a brush attachment, a soapy warm-water bucket, and a soft cloth or sponge. In the event that painting is to be done, then painter's tape to cover the adjacent area will be needed.
Safety Always Matters: Precautions to Take
Your safety comes first. Start your task by switching off your HVAC unit at the thermostat so that air will not blow during work. If your baseboard diffuser contains a damper, switch it off so that the duct opening is blocked, no debris enters. Always keep your hands gloved so that your hands do not touch sharp-edged metals. While cutting with a utility knife, be careful to cut away from your body so that an accident will not happen.
Step-By-Step Guide to Removing Your Diffuser
If you’re wondering how to remove a baseboard diffuser, the process is straightforward. In order to remove the diffuser, first check the diffuser to determine how it is secured. Most baseboard diffusers are secured with screws. Remove them with your screwdriver. If no screws are apparent, the diffuser is likely being held on tension clips. To release, slide your flathead screwdriver or your putty knife between the baseboard panel face and the diffuser, then release off the wall carefully.
If paint or caulking is holding the edges, use your utility knife to break the sides first, and then the top before releasing off. This prevents the paint from chipping off or the wall from scratching. Remember to only remove a baseboard diffuser when needed to avoid unnecessary wear.
Cleaning and Upkeep
With the diffuser removed, it is time to do a proper cleaning. Vacuum dust and dirt off the inside face of the air duct with your vacuum cleaner's brush tool. Then, wash the actual diffuser. Submerge it in a bucket of warm soapy water, then scrub the dirt off the face with a soft cloth. A non-abrasive brush is helpful where there are stubborn marks. Clean the diffuser, flush off the soapsuds with cold water, then air dry before refitting.
Reinstalling Your Baseboard Diffuser
Once the diffuser is rinsed off and dry, refitting is a breeze. Refit the diffuser back into the duct opening and press it firmly up against the baseboard. If it has screws, refit the screws back in place and tighten until the diffuser is seated securely, but don't overtighten, as this will cause the frame to warp.
If it has clips, it should snap back into place. Switch your heating, ventilation, and air conditioning back on the last setting and check air is flowing freely around the newly refitted diffuser.
A Job Well Done
Correctly uninstalling and reinstalling a baseboard diffuser is a breeze that will cause your home to breathe more freely as well as look more appealing. Follow these instructions so that your HVAC remains functional while your diffusers are always appearing their best. Yearly cleaning will keep your system working as it should, years ahead.
